How to make my own
Stickers
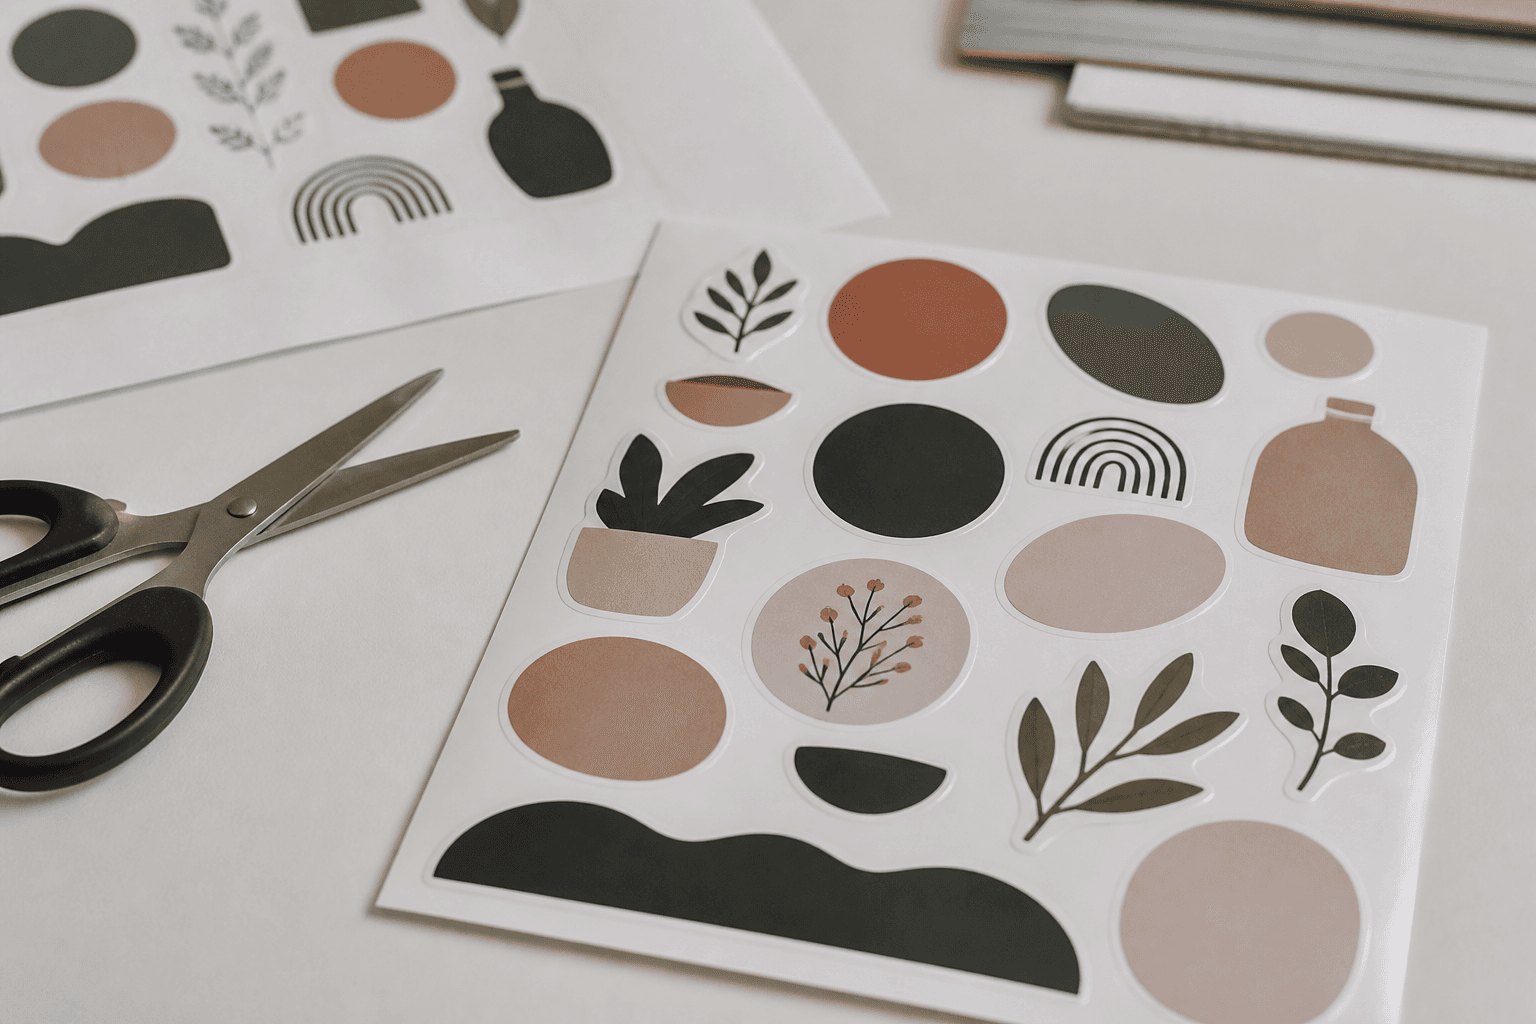
Print-and-cut stickers at home with sticker paper, or kiss-cut them on a craft cutter. Start with a simple PNG and a sheet of matte vinyl.
Project At-A-Glance
- Difficulty
- easy
- Active Time
- 25 min
- Total Time
- 45 min
- Yield
- 1 sheet of stickers
Materials & Tools
Step-by-step
Step 1: Draw or export your art at 300 dpi
Draw or export your art at 300 dpi. Keep a 2–3 mm quiet border around the shape so the cut does not shave the ink.
Step 2: If you only have scissors: print on sticker paper, le…
If you only have scissors: print on sticker paper, let the ink dry, then cut just outside the line. For a glossy finish, cover with clear tape before you cut.
Step 3: If you have a cutter: place the print on the mat, set…
If you have a cutter: place the print on the mat, set the machine to kiss-cut (top layer only), and run a test on a corner of scrap first.
Step 4: Weed the extra paper around each sticker
Weed the extra paper around each sticker. Press one onto a water bottle or notebook and wait an hour before washing the bottle.
Step 5: Store unused sheets flat, away from sun
Store unused sheets flat, away from sun. Heat warps vinyl and makes the next cut drift.
Email me the checklist
Checklist email is coming soon — use Print / save PDF for now, or check the materials list above.
Notes
- Inkjet ink smears on some vinyl until it is sealed. Laser toner is more water-resistant out of the tray.
- Do not print copyrighted characters and sell them. Your own drawings and lettering are the safe lane.
- A full sheet of 2-inch round stickers is a good first run — you will learn alignment before you design a die-cut shape.
Related
- How to make my own Minecraft skinPaint a 64×64 PNG on the official UV layout, keep the outer layer transparent where you need it, then upload it in Java or Bedrock without breaking the model.
- How to make my own embroidery designsTurn a 6 cm doodle into a stitchable motif tonight. Hoop, three strands, backstitch. No machine file.
- How to make my own granolaOven-baked oat clusters with nuts, seeds, and a maple-oil binder. Batch it once, tweak sweetness, and skip the bakery markup.
- How to make my own sourdough starterFlour, water, a jar, and about a week of twice-daily feeds until it doubles on schedule.