How to make my own lip balm
Melt beeswax, shea butter and oil into smooth lip balm tubes in about half an hour, with the firmness and scent you choose.
- Time
- 35 min
- Difficulty
- easy
- Makes
- about 10 tubes
- Steps
- 9 steps
Updated Oct 16, 2026
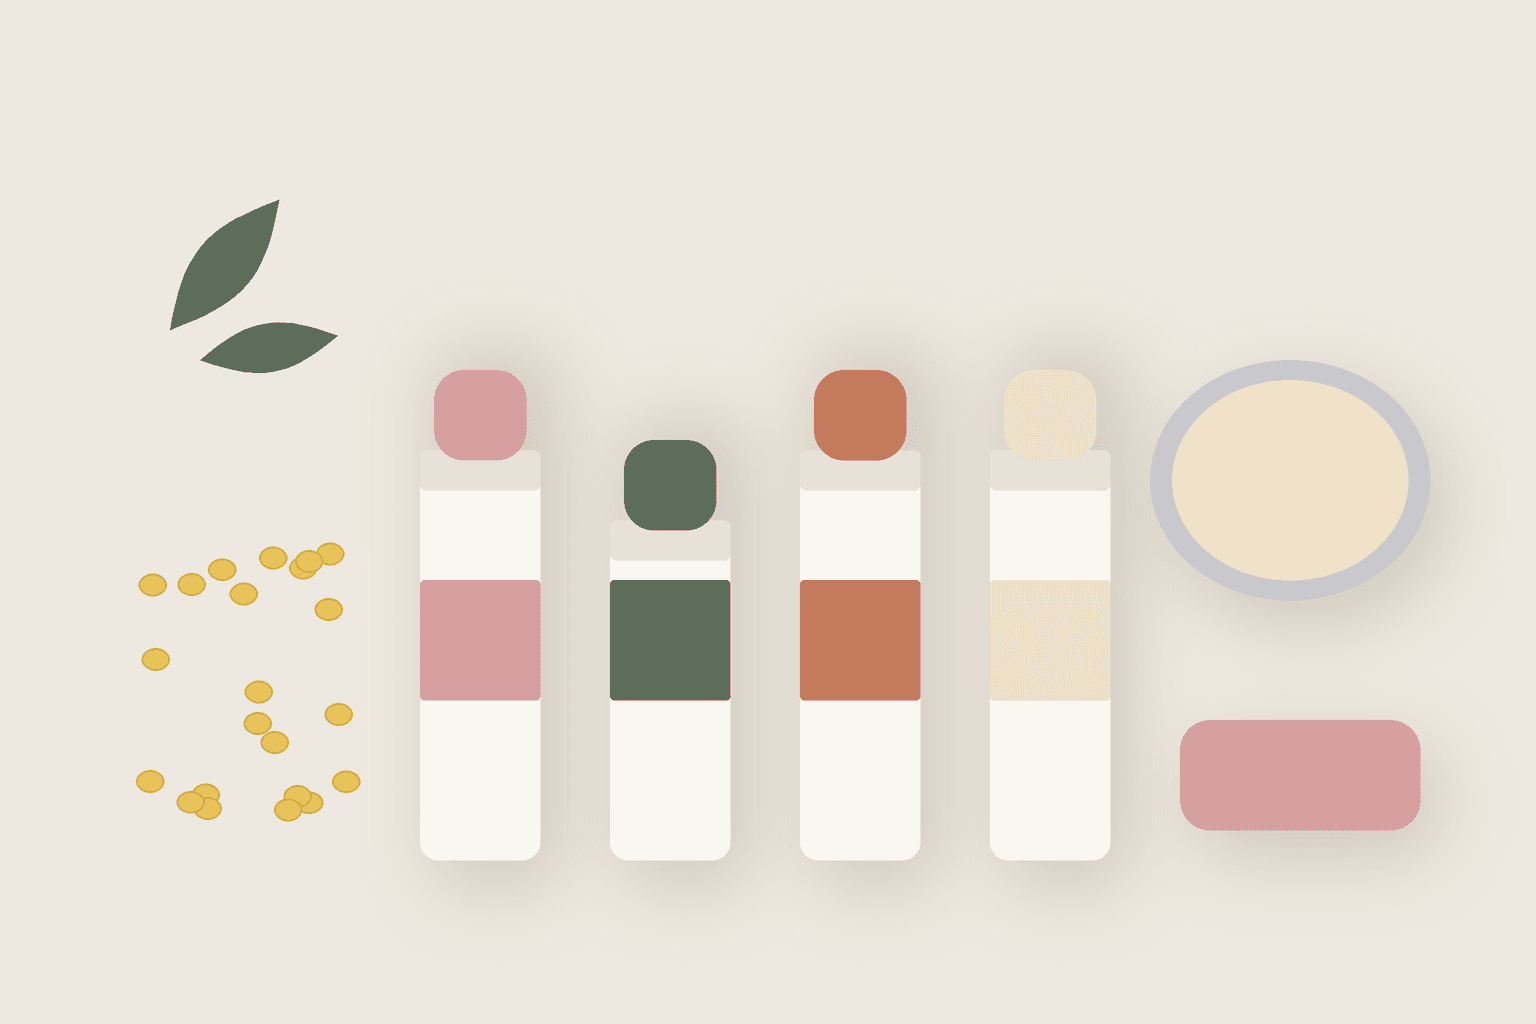
Homemade lip balm is just wax, butter and oil melted together and poured into tubes or tins. It takes about half an hour, uses three main ingredients, and you can make a batch for yourself and a few friends for less than the price of two branded balms. You decide the scent, the tint and how firm it is.
You will melt wax, so set aside time when you will not be interrupted and keep the heat low. This recipe has no water in it, which matters: balms made only from oils, butters and waxes do not need a preservative, but anything watery added to them can grow mould.
What you need
Step by step
- 01
Wash and dry the tubes, jug and spoons, and stand the open tubes upright on a tray. Put a metal spoon in the freezer. Weighing on a scale gives far more reliable results than spoon measures, because beeswax pastilles pack loosely.
- 02
Make a water bath: put about 3 cm (just over an inch) of water in a small saucepan and set the heatproof jug in it. Bring the water to a gentle simmer, not a boil. Direct heat can scorch beeswax and turn shea butter grainy.
- 03
Add the beeswax to the jug first and let it melt completely, stirring now and then with a clean spoon or a wooden skewer. Then add the shea butter and the liquid oil and stir until everything is clear and runny, with no lumps or streaks.
- 04
Test the firmness. Dip the cold spoon from the freezer into the mixture, lift it out and wait one minute. Rub the set film on the back of your hand. If it is too hard and drags, stir in a little more oil, about 1 teaspoon. If it is too soft and greasy, add a few more beeswax pastilles and let them melt. Test again.
- 05
Take the jug off the heat. Stir in the vitamin E and any flavour, essential oil or mica now, while it is still runny. Use essential oil sparingly: 2 to 3 drops is enough for the whole batch on lips.
- 06
Pour or pipette the mixture into the tubes in one steady stream, filling each one to just below the top. Work quickly, because it starts to set at the edges within a minute or two. If it thickens in the jug, put it back over the water for a moment.
- 07
Let the tubes cool at room temperature for 10 minutes. You will often see a small dip form in the middle as the balm shrinks. Rewarm the leftover mixture and add a drop on top of each tube to fill the dip for a neat, flat finish.
- 08
Cool for another 30 minutes, or 10 minutes in the fridge, before you put the caps on. Wipe the outsides of the tubes clean, and label each one with what it contains and the date you made it.
- 09
Before giving any away, try a little on the inside of your wrist first and wait a day, especially if you added essential oil or used a nut oil. Tell anyone you give it to which oils it contains, in case of allergies.
Email me the checklist
Checklist email is coming soon — use Print / save PDF for now, or check the materials list above.
Notes
- Common failure: a grainy or gritty texture after a few days. This is shea butter forming crystals because it cooled slowly. Remelt the balm gently, hold it just melted for a few minutes, then pour and cool the tubes quickly in the fridge.
- Never add water, aloe vera gel, honey or fruit juice to this recipe. Those bring water, and water in an unpreserved balm can grow mould and bacteria.
- Avoid citrus essential oils such as bergamot and cold-pressed lime on lips, as they can irritate skin exposed to sun. Skip strong 'hot' oils such as cinnamon and clove altogether.
- Vegan version: replace the beeswax with candelilla wax, using roughly half the amount, as it is harder. Test firmness with the frozen spoon as usual.
- Shelf life is usually 6 to 12 months, depending on how fresh your oils were. If a balm starts to smell like old crayons or stale nuts, the oil has gone rancid: throw it away.
Questions people ask
Safety note: this is practical DIY guidance, not medical, chemical, or professional advice. Skip anything that feels unsafe for your setup.
Make something else
Craft
How to make my own
air dry clay trinket dish
Shape a small clay dish for rings and keys without a kiln, then paint and seal it so it lasts. Very little kit needed.
- Time
- 1 h
- Difficulty
- easy
- Makes
- 2 small dishes
Craft
How to make my own
pressed flower bookmarks
Press real flowers flat in a book, then seal them onto card for bookmarks that keep their colour and don't shed petals.
- Time
- 45 min
- Difficulty
- easy
- Makes
- 4 to 6 bookmarks
Digital
How to make my own
qr code
Make a free QR code that never expires, prints crisply and scans first time on any phone, for a link, your Wi-Fi or a contact card.
- Time
- 20 min
- Difficulty
- easy
- Makes
- 1 QR code
Craft
How to make my own
scrunchies
Sew soft fabric scrunchies from scraps in about 20 minutes each, by machine or by hand, in silk, cotton or velvet.
- Time
- 30 min
- Difficulty
- easy
- Makes
- 1 scrunchie