How to make my own pressed flower bookmarks
Press real flowers flat in a book, then seal them onto card for bookmarks that keep their colour and don't shed petals.
- Time
- 45 min
- Difficulty
- easy
- Makes
- 4 to 6 bookmarks
- Steps
- 10 steps
Updated Oct 16, 2026
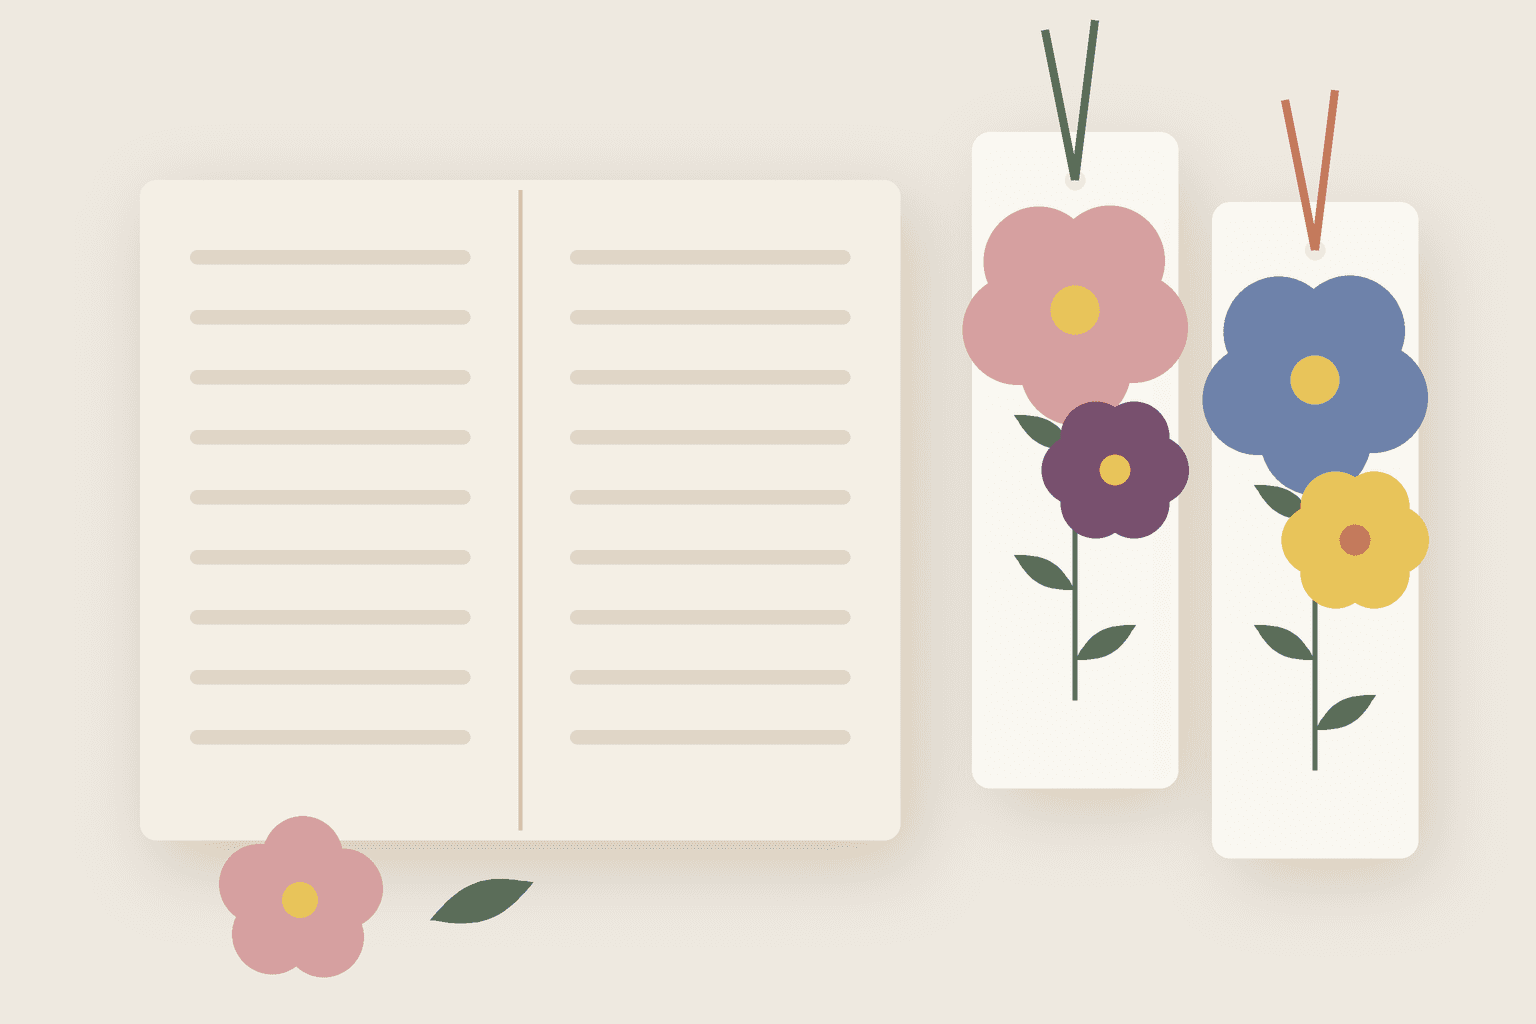
A pressed flower bookmark is a strip of card with flattened real flowers on it, sealed under clear film so you can tuck it into a book for years. The making is quick. The waiting is not: flowers need one to three weeks in a press before they are dry enough to use, so pick them now and plan the crafting session for later.
The active work is about 45 minutes and makes very little mess. It is a good first craft because nothing is expensive, and the flowers you pick from a garden, a hedge or a supermarket bunch make each bookmark different from anything you could buy.
What you need
Step by step
- 01
Pick flowers late in the morning on a dry day, after the dew has gone. Choose fresh, fully open blooms with no brown edges, and pick a few more than you need, because some will press badly. Wet or wilted flowers go mouldy or brown in the press.
- 02
Prepare the flowers for pressing. Flat flowers like pansies and violas go in whole, face down. For thicker flowers, pull off single petals and press those, or slice a small bloom in half from top to stem so it lies flat. Snip off thick stems, which hold too much water.
- 03
Open the book about a third of the way in and lay down a sheet of absorbent paper. Arrange the flowers on it with a little space between each one, so none touch. Lay a second sheet on top, close the book carefully, then stack more books or a brick on top.
- 04
Leave the press somewhere dry at room temperature for one to three weeks. After three or four days, open it and swap the damp paper for fresh dry sheets. This one change does more than anything else to keep colours bright and stop mould.
- 05
Check for dryness before you use anything. A ready flower feels papery, lifts off the paper as one stiff piece and does not feel cool against your cheek or lip. If it still feels limp or cool, close the book and give it a few more days.
- 06
Cut the card into bookmark strips. Lay out flowers on one strip with tweezers until you like the design, moving them with a dry paintbrush rather than your fingers. Keep everything at least 1 cm (just under half an inch) inside the edges, because the seal needs a clear border.
- 07
Fix each flower with a tiny amount of glue: a few dots of PVA put on with a toothpick, or a light touch of glue stick on the card under the thickest part. Too much glue soaks through petals and leaves dark patches. Let it dry for ten minutes.
- 08
Seal the bookmark. Peel the backing off a laminating sheet, hold it above the card, and lower it from one end to the other while smoothing with a ruler edge to push out air. Seal the back with a second sheet, or wrap the film round. If you use a hot laminator, test one spare flower first, as heat can turn some petals brown.
- 09
Trim around the bookmark, leaving 3 to 5 mm (about 1/8 to 1/4 inch) of clear film past the card on every side. That margin is what stops the film from peeling. Round the corners slightly with scissors so they do not catch on pages.
- 10
Punch a hole at the top, in the middle and about 1.5 cm (just over half an inch) from the end, so it goes through card and film together. Fold the ribbon in half, push the loop through the hole, thread the ends through the loop and pull it snug.
Email me the checklist
Checklist email is coming soon — use Print / save PDF for now, or check the materials list above.
Notes
- Common failure: brown, curled or mouldy flowers. That nearly always means they went in damp or the paper was never changed. Pick dry flowers, keep the press in a heated room and swap the paper after a few days.
- Colour guide: blues, purples, yellows and oranges keep their colour best. White flowers often turn cream or tan, and deep reds darken almost to brown. Plan your design around that.
- Keep finished bookmarks out of strong sunlight. Pressed flowers fade over months in a sunny window, even under film.
- Store spare pressed flowers flat between sheets of paper in a sealed box with a small silica gel sachet. They will keep for a year or more.
- Do not pick wildflowers in nature reserves, or rare and protected plants. Garden flowers, weeds and a cheap supermarket bunch all press well.
Questions people ask
Make something else

Craft
How to make my own
air dry clay trinket dish
Shape a small clay dish for rings and keys without a kiln, then paint and seal it so it lasts. Very little kit needed.
- Time
- 1 h
- Difficulty
- easy
- Makes
- 2 small dishes
Wellness
How to make my own
lip balm
Melt beeswax, shea butter and oil into smooth lip balm tubes in about half an hour, with the firmness and scent you choose.
- Time
- 35 min
- Difficulty
- easy
- Makes
- about 10 tubes
Digital
How to make my own
qr code
Make a free QR code that never expires, prints crisply and scans first time on any phone, for a link, your Wi-Fi or a contact card.
- Time
- 20 min
- Difficulty
- easy
- Makes
- 1 QR code

Craft
How to make my own
scrunchies
Sew soft fabric scrunchies from scraps in about 20 minutes each, by machine or by hand, in silk, cotton or velvet.
- Time
- 30 min
- Difficulty
- easy
- Makes
- 1 scrunchie