How to make my own air dry clay trinket dish
Shape a small clay dish for rings and keys without a kiln, then paint and seal it so it lasts. Very little kit needed.
- Time
- 1 h
- Difficulty
- easy
- Makes
- 2 small dishes
- Steps
- 10 steps
Updated Oct 16, 2026
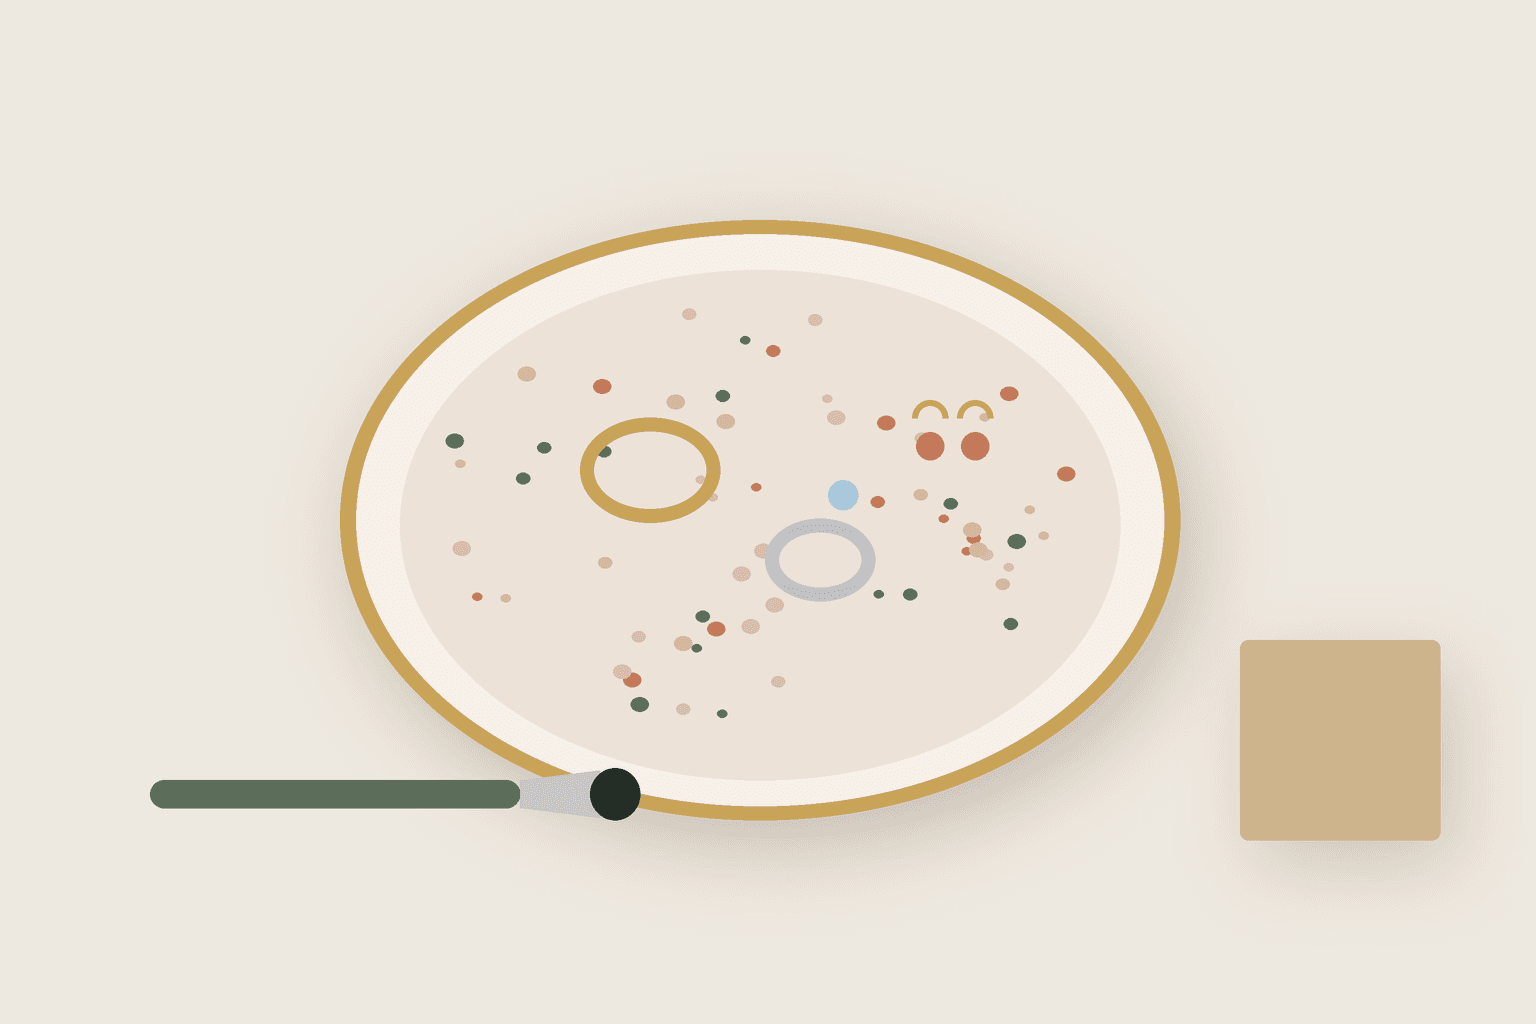
Air-dry clay hardens on its own at room temperature, so you can make a neat little dish for rings, earrings or keys at the kitchen table with no kiln or oven. Shaping takes about half an hour. The clay then needs one to three days to dry completely before you sand, paint and seal it, so this is a weekend project in short sessions.
It is a forgiving material: cracks and rough edges can be smoothed or patched as you go. The one thing to know before you start is that air-dry clay never becomes waterproof or food-safe. Your dish is for dry things on a dresser, not for soap, plants or snacks.
What you need
Step by step
- 01
Lay baking paper on a clean, smooth table. Take the clay you need from the packet and wrap the rest tightly straight away, because it starts drying the moment it meets air. Knead your piece for a minute until it feels smooth and even.
- 02
Put the two wooden guides on either side of the clay and roll it out between them until the rolling pin rides on the guides. This gives an even 5 mm (1/4 inch) slab. Uneven thickness is the main cause of cracks, because thin parts dry and shrink faster than thick ones.
- 03
Lay the template on the slab and cut around it with the knife held upright. Lift away the extra clay and wrap it up for later.
- 04
Dip a finger in water, shake most of it off, and run it around the cut edge to round it off. Smooth the top surface with the damp sponge. Use only a little water: a slimy surface is too wet and will crack as it dries.
- 05
Line the small bowl with cling film. Lift the clay circle and press it gently into the bowl so it takes on a curve, or simply pinch and lift the rim up all the way round with your fingers for a flatter, freeform dish. Smooth any creases with a damp finger.
- 06
Add any texture or details now while the clay is soft: press in a leaf, stamp letters, or scratch a pattern with a toothpick. Fill hairline cracks by rubbing in a little paste made from clay and a few drops of water.
- 07
Let it dry slowly at room temperature, away from radiators and direct sun. After about 12 hours, lift it out of the bowl so the base can dry, and turn it over now and then. It is fully dry when it is lighter, evenly pale all over and no longer feels cool to the touch, usually after 24 to 72 hours.
- 08
Sand the dry dish outdoors or over a damp cloth. Start with 220 grit on the rim and any bumps, then finish with 400 grit until it feels smooth. Wipe off the dust with a barely damp cloth and let it dry for an hour.
- 09
Paint with acrylics in thin coats, letting each coat dry before the next. Two thin coats give a smoother finish than one thick one. Gold or metallic paint on the rim looks smart and hides small chips.
- 10
Seal the whole dish, inside, outside and underneath, with two or three thin coats of water-based varnish, drying each coat as the tin says. The varnish protects against fingermarks and the odd damp ring, but it does not make the dish waterproof. Leave it 24 hours before using it.
Email me the checklist
Checklist email is coming soon — use Print / save PDF for now, or check the materials list above.
Notes
- Common failure: cracks appearing as it dries. The usual causes are drying too fast (near a heater or in the sun), uneven thickness, or too much water while smoothing. Fix small cracks by pressing in a paste of clay and water, letting it dry, then sanding it level.
- Air-dry clay is not food-safe and not waterproof, even when varnished. Do not use it for food, drinks, soap or plant pots. Wet it and it softens again.
- If you want a dish that can hold a damp sponge or soap, use oven-bake polymer clay instead and follow the temperature on the packet.
- Wrapped tightly in cling film inside a sealed bag, opened clay keeps for weeks. If it gets a little stiff, knead in a few drops of water.
- To make a matching set, cut every dish from the same slab with the same template, and dry them side by side so they shrink the same amount.
Questions people ask
Make something else
Wellness
How to make my own
lip balm
Melt beeswax, shea butter and oil into smooth lip balm tubes in about half an hour, with the firmness and scent you choose.
- Time
- 35 min
- Difficulty
- easy
- Makes
- about 10 tubes
Craft
How to make my own
pressed flower bookmarks
Press real flowers flat in a book, then seal them onto card for bookmarks that keep their colour and don't shed petals.
- Time
- 45 min
- Difficulty
- easy
- Makes
- 4 to 6 bookmarks
Digital
How to make my own
qr code
Make a free QR code that never expires, prints crisply and scans first time on any phone, for a link, your Wi-Fi or a contact card.
- Time
- 20 min
- Difficulty
- easy
- Makes
- 1 QR code

Craft
How to make my own
scrunchies
Sew soft fabric scrunchies from scraps in about 20 minutes each, by machine or by hand, in silk, cotton or velvet.
- Time
- 30 min
- Difficulty
- easy
- Makes
- 1 scrunchie