How to make my own
Minecraft Skin
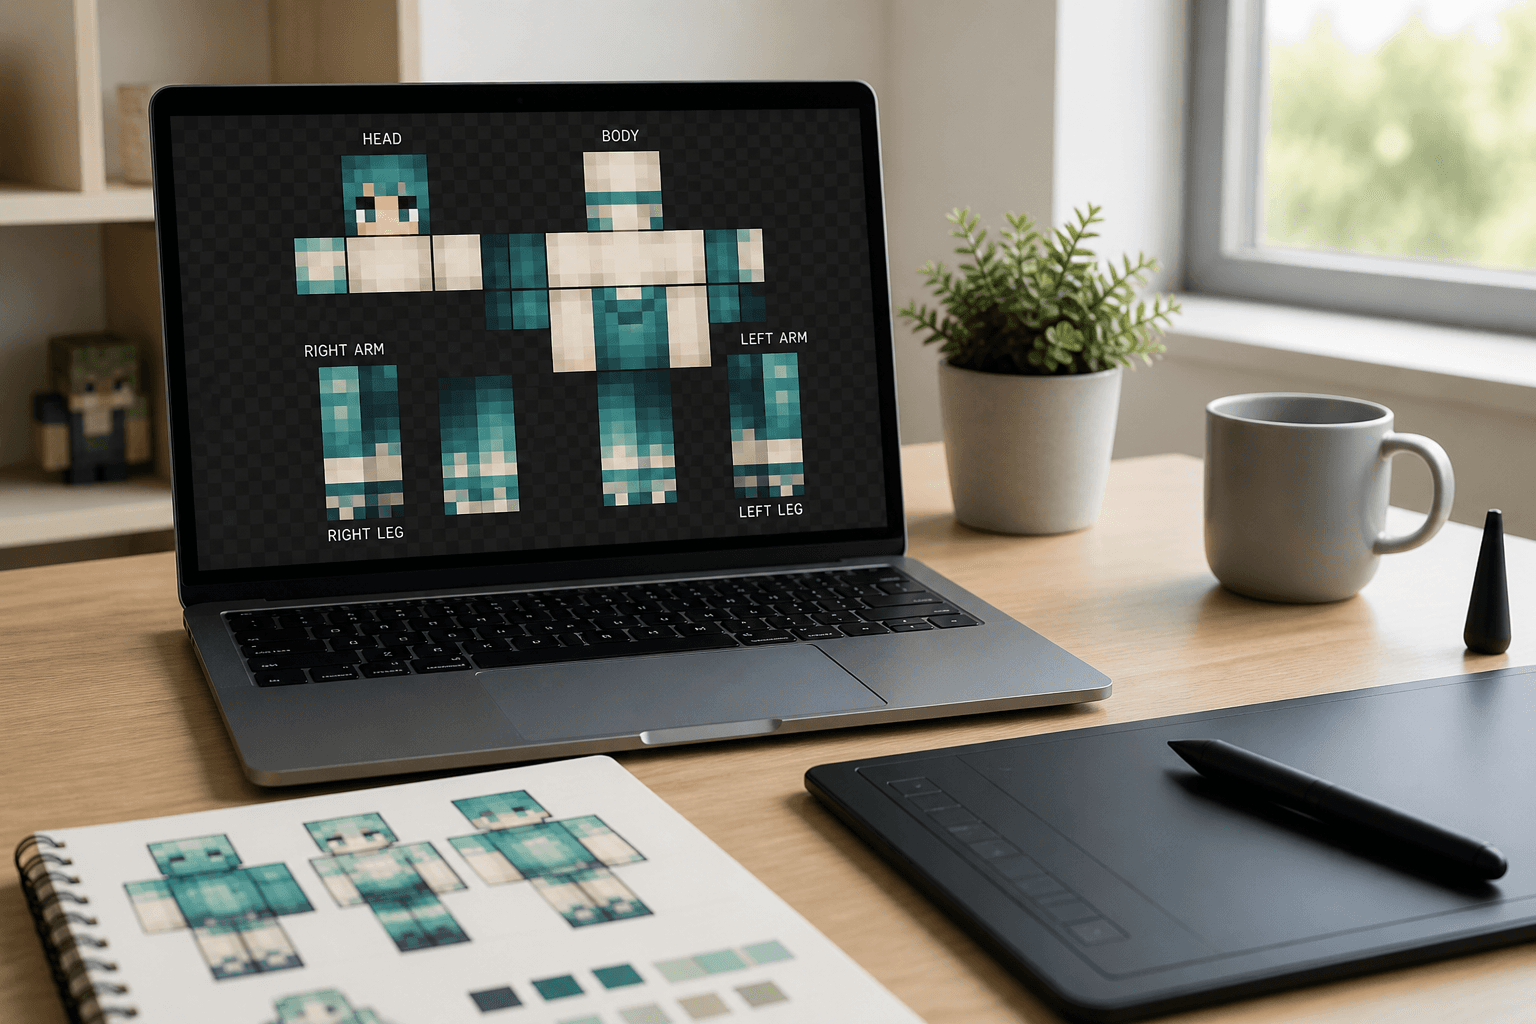
Paint a 64×64 PNG on the official UV layout, keep the outer layer transparent where you need it, then upload it in Java or Bedrock without breaking the model.
Project At-A-Glance
- Difficulty
- easy
- Active Time
- 50 min
- Total Time
- 90 min
- Yield
- 1 custom skin PNG
Materials & Tools
A Minecraft skin is not a freehand drawing you stretch onto a player. It is a 64×64 PNG mapped to a fixed UV template: head, torso, arms, legs, plus optional outer layers for hat, jacket, sleeves, and pants.
This walkthrough gets you from a blank template to a skin you can wear in-game. You will paint in a pixel editor, check both layers, export PNG, and upload through your launcher. Keep the art original — copying Mojang characters or paid marketplace skins is how accounts get into trouble.
Step-by-step
Step 1: Download or open a blank 64×64 skin template
Download or open a blank 64×64 skin template. Confirm the canvas is exactly 64 pixels wide and 64 tall — not 128×128 scaled down later, and not the old 64×32 classic size unless you know you need legacy.
Step 2: Turn on a 1-pixel grid and zoom until each texel is o…
Turn on a 1-pixel grid and zoom until each texel is obvious. Sketch a simple silhouette first: hair shape, shirt colour, pants colour. Resist tiny facial details until the big shapes read at arm’s length on a 3D preview.
Step 3: Paint the inner (base) layer regions in order: head f…
Paint the inner (base) layer regions in order: head front/sides/back, torso, right arm, left arm, right leg, left leg. Mirror left/right only if you want a symmetrical look; mismatched sleeves are fine if intentional.
Step 4: Leave the outer-layer areas transparent unless you ar…
Leave the outer-layer areas transparent unless you are adding a hat brim, jacket, hoodie strings, or gloves. Opaque outer-layer pixels that sit over the face or hands will look like a floating shell in-game.
Step 5: Check every face of the head: front, back, left, righ…
Check every face of the head: front, back, left, right, top, bottom. A blank top of the head shows as a bald patch when the camera looks down. Fill it with hair or scalp colour.
Step 6: Open a 3D preview (Blockbench, an online skin viewer,…
Open a 3D preview (Blockbench, an online skin viewer, or your editor’s preview). Spin the model. Fix stretched seams where the arm joins the torso — those usually mean you painted into the wrong UV square.
Step 7: Export as PNG with transparency preserved
Export as PNG with transparency preserved. Do not save as JPEG. Do not resize in a photo app afterward; exporters that “helpfully” resample to 65×65 or add a white background will break the skin.
Step 8: Java Edition: open the Minecraft Launcher → your skin…
Java Edition: open the Minecraft Launcher → your skin/cape area → upload the PNG → apply. Relaunch or switch skins once if the old model is still cached. Bedrock: use the in-game dressing room / character creator upload path for your platform (Microsoft account), or paste the PNG where your edition expects a custom skin.
Step 9: Load into a quiet single-player world and check idle,…
Load into a quiet single-player world and check idle, sprint, and sneak. Outer-layer jackets that look fine standing still often clip when you crouch — thin the layer or erase the colliding pixels.
Step 10: Save a dated copy of the PNG outside the game folders
Save a dated copy of the PNG outside the game folders. The next edit should start from that file, not from a screenshot of yourself in-game (screenshots are not the UV map).
Email me the checklist
Checklist email is coming soon — use Print / save PDF for now, or check the materials list above.
Notes
- Common failure: painting on a 512×512 “HD” canvas and uploading it raw. Vanilla custom skins expect 64×64 (or a correctly authored HD pack your client actually supports). Start at 64×64 until the UV layout is muscle memory.
- Another failure: filling the entire outer layer with colour. That wraps a second body around you and hides facial detail. Keep outer-layer pixels sparse and intentional.
- Alex vs Steve model width: slim arms use a slightly different arm UV. If elbows look crushed, you painted the wide-arm layout on a slim model (or the reverse). Match the template to the model you selected in the launcher.
- Keep skins original. Traced YouTubers, movie characters, and marketplace packs are the fast way to a takedown or a wasted evening.
FAQ
Helpful resources
Related
- How to make my own embroidery designsTurn a 6 cm doodle into a stitchable motif tonight. Hoop, three strands, backstitch. No machine file.
- How to make my own granolaOven-baked oat clusters with nuts, seeds, and a maple-oil binder. Batch it once, tweak sweetness, and skip the bakery markup.
- How to make my own sourdough starterFlour, water, a jar, and about a week of twice-daily feeds until it doubles on schedule.
- How to make my own laundry detergentA small-batch washing-soda powder for everyday cotton. No mystery slurry, no essential-oil dump.