How to make my own
Embroidery Designs
Turn a 6 cm doodle into a stitchable motif tonight. Hoop, three strands, backstitch. No machine file.
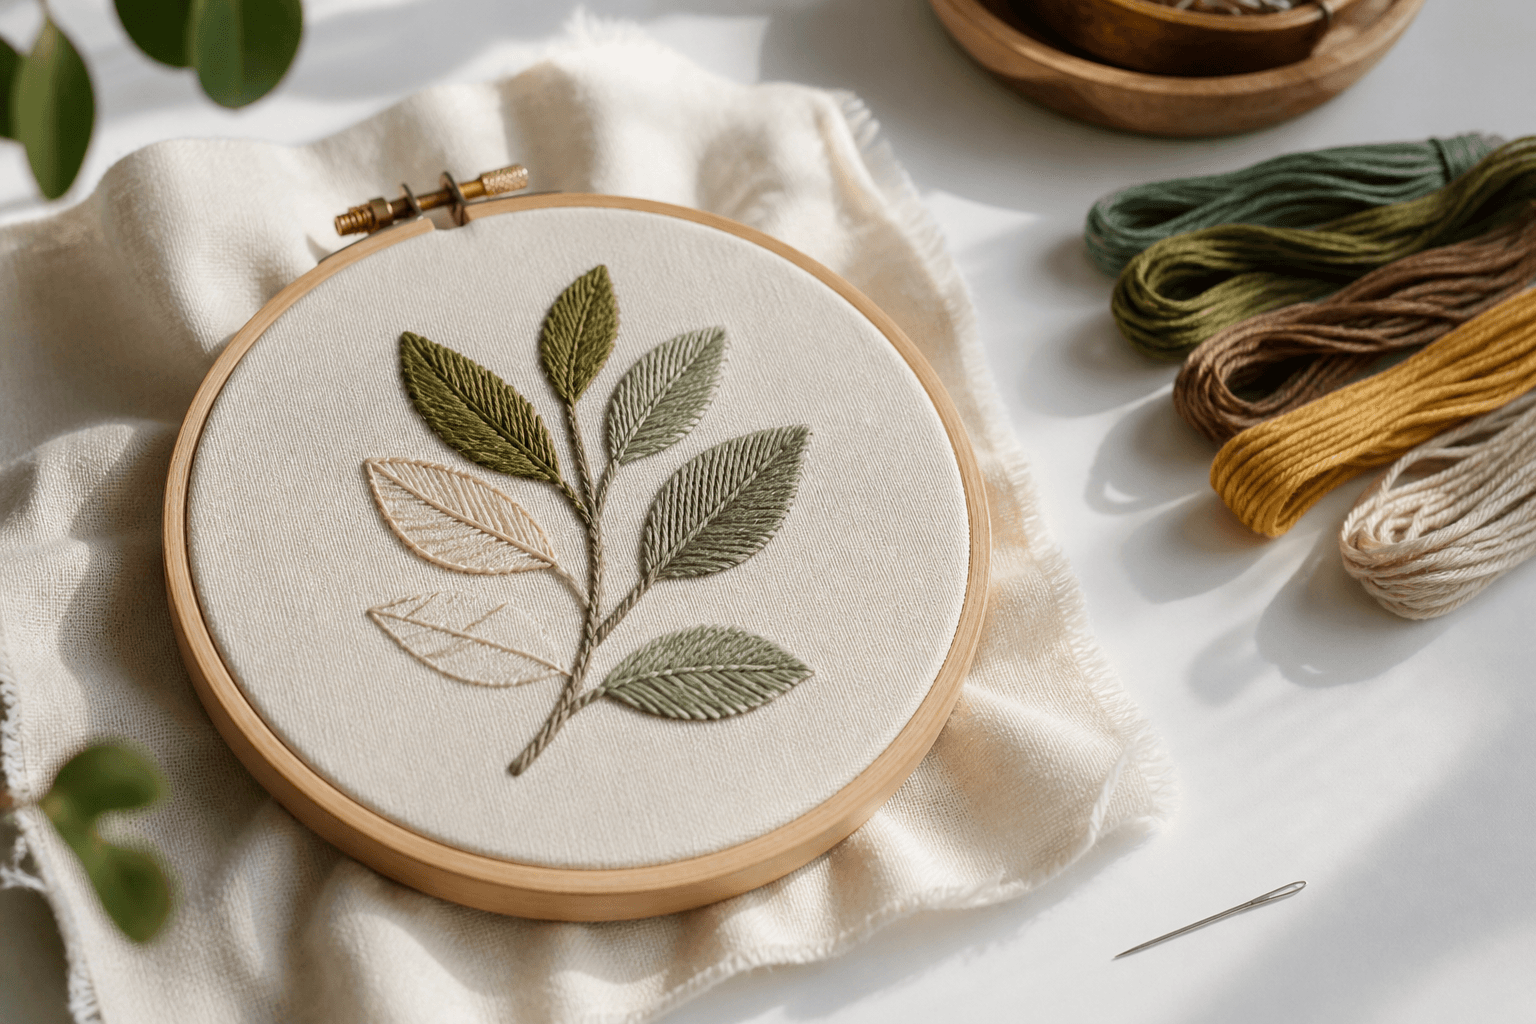
Project At-A-Glance
- Difficulty
- easy
- Active Time
- 33 min
- Total Time
- 60 min
- Yield
- 1 stitched motif
Materials & Tools
A design here is a line on fabric you can follow with a needle, not a .pes file. If you can draw a coaster-sized shape, you can stitch it.
Skip portraits and tiny type on the first try. A leaf, a moth, or chunky initials teach you more than a photoreal dog.
Step-by-step
Step 1: Draw the motif at finished size, no bigger than a coa…
Draw the motif at finished size, no bigger than a coaster. Ink only the lines you will stitch.
Step 2: If there are more than about twelve lines, merge them
If there are more than about twelve lines, merge them. Outline plus one inner detail is enough.
Step 3: Wash and iron the fabric so hoop wrinkles do not stea…
Wash and iron the fabric so hoop wrinkles do not steal your line.
Step 4: Centre the fabric and tighten until it sounds like a…
Centre the fabric and tighten until it sounds like a dull drum.
Step 5: Trace a pale dashed line onto the cloth from a window…
Trace a pale dashed line onto the cloth from a window or lightbox. Fat marker will show through light stitches.
Step 6: Split floss to three strands for outlines, two for in…
Split floss to three strands for outlines, two for inner detail. Knot once and start from the back.
Step 7: Outline the whole silhouette in backstitch before you…
Outline the whole silhouette in backstitch before you fill anything. Short stitches at corners.
Step 8: Inner lines in the accent colour
Inner lines in the accent colour. Running stitch if you want them quieter than the outline.
Step 9: Satin stitch only in small shapes under 1 cm
Satin stitch only in small shapes under 1 cm. Bigger shapes: split into two pads.
Step 10: Tie off under existing stitches, rinse pen marks in c…
Tie off under existing stitches, rinse pen marks in cold water, dry flat, press from the back on a towel.
Email me the checklist
Checklist email is coming soon — use Print / save PDF for now, or check the materials list above.
Notes
- If you would not cut the shape from black paper, it is not ready to stitch.
- Do not iron water-soluble pen before rinsing; some brands go permanent.
- Machine embroidery is a different craft. This method will not feed a Brother or Bernina.
FAQ
Related
- How to make my own Minecraft skinPaint a 64×64 PNG on the official UV layout, keep the outer layer transparent where you need it, then upload it in Java or Bedrock without breaking the model.
- How to make my own granolaOven-baked oat clusters with nuts, seeds, and a maple-oil binder. Batch it once, tweak sweetness, and skip the bakery markup.
- How to make my own sourdough starterFlour, water, a jar, and about a week of twice-daily feeds until it doubles on schedule.
- How to make my own laundry detergentA small-batch washing-soda powder for everyday cotton. No mystery slurry, no essential-oil dump.